As a follow up to my ode to photo albums blog post a comment on Facebook from Liz asked about what I do for a photo backup so here is the way I organise and backup to keep my pics as safe I can. There are probably hundreds of ways that people chose to organise their photos but this is a system that works well for me. I know I have peace of mind that my personal photos are safe and organised in a way that I can easily find any photo within a few clicks.
1. Name those photo files!
I always rename my photos. It takes seconds at the time, but saves hours in the long term. The biggest reason is that computers have a great search function so why wouldn’t you make use of that? If you know you want a photo of you and your partner from Croatia but you can’t remember if it was 2009 or 2010 that’s the first hurdle that’ll slow you down. On the other hand, if you can type Croatia into your search bar and get 100 photos pop straight up you’re onto a winner!
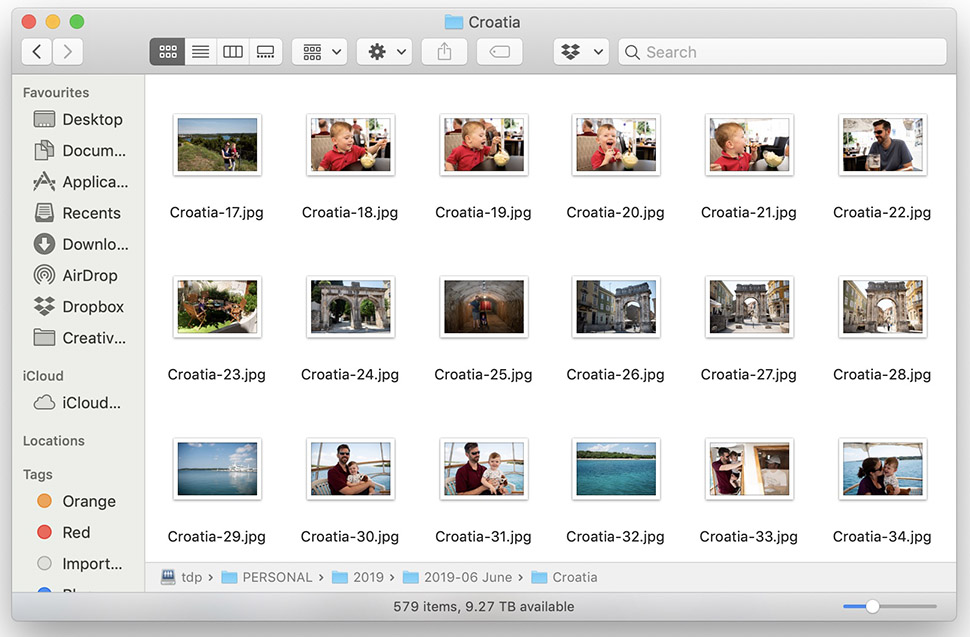
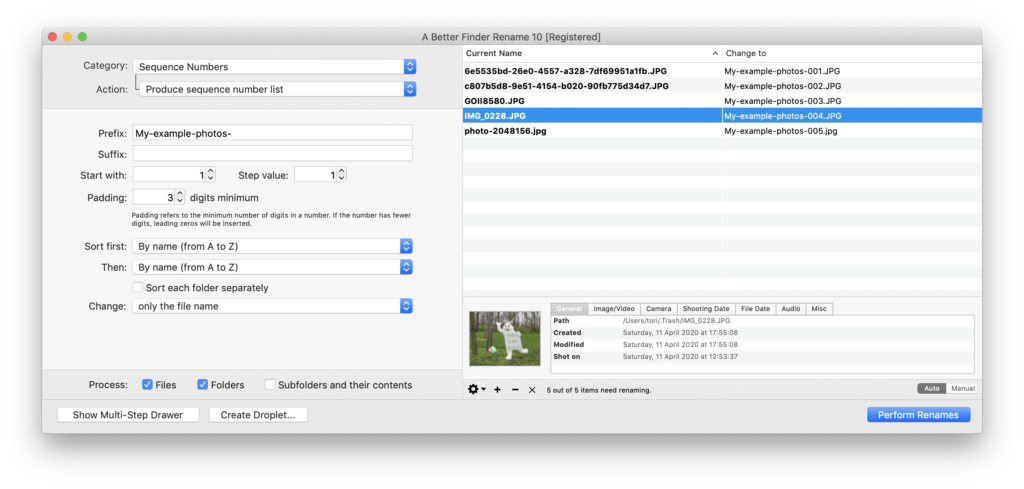
There are lots of different ways to do this. I edit all of my photos so I rename them on export from my editing software. However, a lot of digital cameras will let you rename on import to your computer. If you can’t figure out an easy way to work this out then a piece of software I love is A Better Finder Rename. Just drag and drop files into the software, reorder them if required and rename them to your heart’s content. I’d also recommend keeping three numbers in your file names as when you upload to certain online album companies etc they can’t keep files in order without three number padding.
2. Make sure all your files are on your computer
Or at least in the same place!
It’s easy to upload a digital camera after big holidays because we’re desperate to see the photos. It’s harder to remember to back up your phone with all your day to day snaps. I personally have a reminder set to upload mine to my computer once a month.
Somewhat controversially I don’t automatically backup to the cloud. This is because, as in point 1, I like to have all my files named the way I like them and all in folders with other photos taken in the same place. When I come to create my end of year album I don’t want to be looking in multiple places for photos I need.
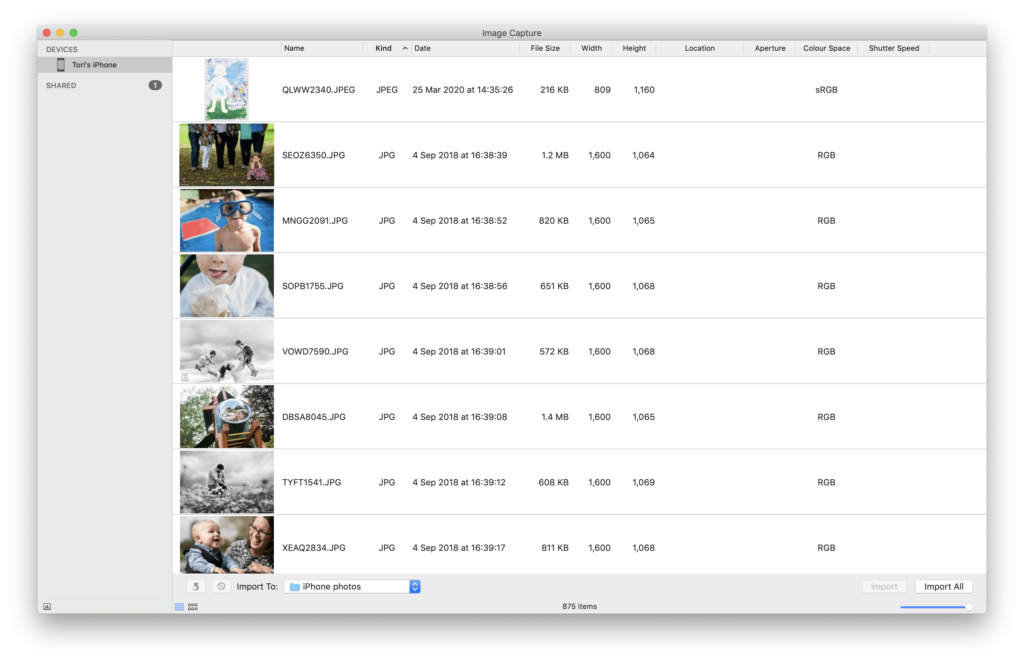
A great piece of software I use for getting photos and videos off my phone is Image Capture. It means I can control what folder they are going into on my computer rather than being dropped into Photos on the Mac automatically.
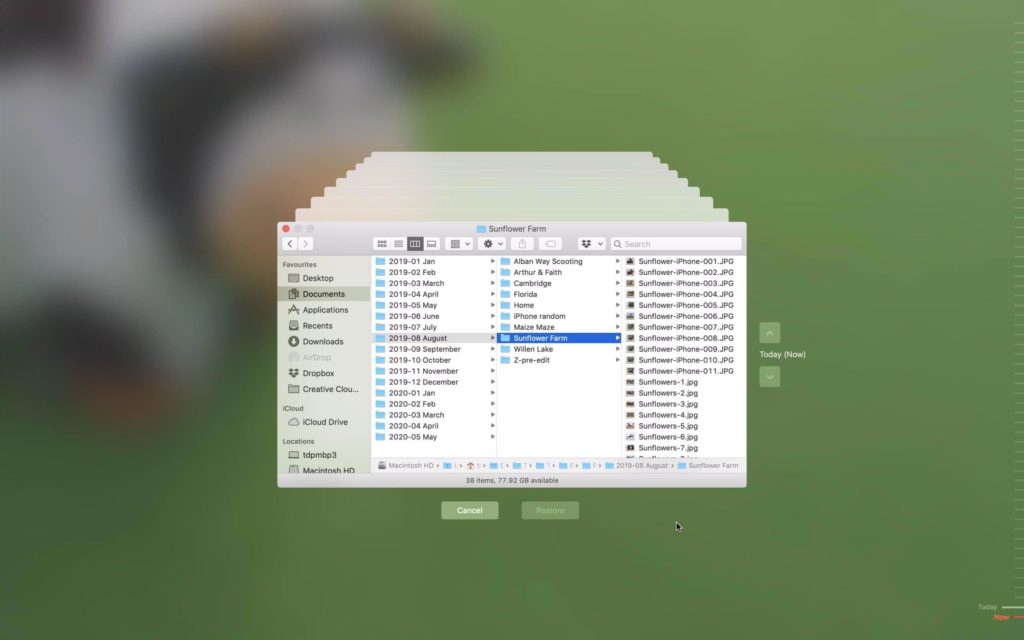
3. Pick a file structure
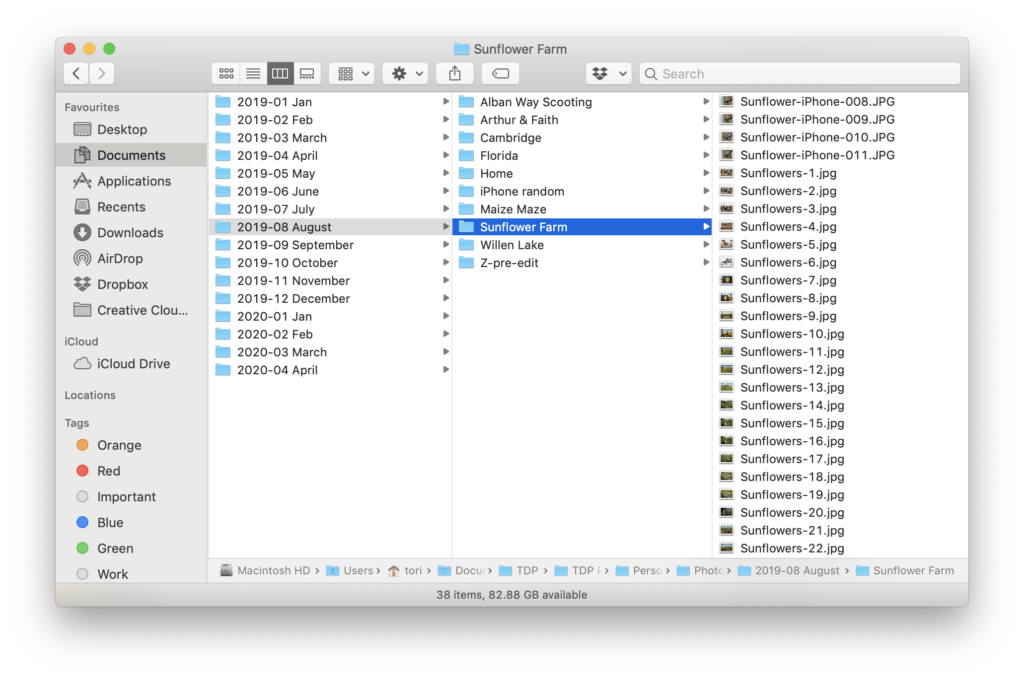
The way I like to organise my file is by year, then by month and then by event in the month.
That way I can pretty easily cast my mind back to a rough time scale because the year is usually pretty easy to remember. Maybe I know it was summer that we went to the beach and I click into 2017 July and August folders but very quickly I can see if there is a beach folder.
When it comes to files the biggest frustration I had was that the months obviously don’t alphabetise neatly (who came up with the calendar, huh?!) so I invert the file names to have the year and month first. This keeps them all nice and ordered but I add the name of the month too because I work better with words than numbers.
4. Get yourself a decent backup strategy
There are so many ways to backup. First and foremost, decide if you want an automatic backup or want to do it manually. Downside of manual is obviously having to remember to do it!
If you want an automatic backup then Time Machine for Mac is free and automatic, you just need an external hard drive plugged into your computer (like a Lacie Hard Drive etc) or a compatible NAS network storage device (like a Synology drive).
For Windows 10, I did some research and there doesn’t seem to be one equivalent backup function that is as comprehensive. File History was talked about a lot as a good compromise or manual backups were also given the thumbs up (but it’s back to remembering). I don’t have any specific software to recommend personally so check out some third-party applications or ask your IT guy!
For iPhones you have PhotoStream which is the automatic iCloud backup for photos and on Android you have Google Photo and their backup Sync service, both of which can upload to cloud storage. Similarly, you can opt for a third-party cloud service like Dropbox which can house all your photos and files.
Find something you’re happy with and set it so that you have a backup somewhere. Anywhere…!
5. Print your photos so you have a copy
The bottom line is you can back up all you want but technology can still fail on you. Which is why I always print my favourite photos too. I have frames, albums and prints everywhere just so I have another copy of my absolute top picks.
If your photos weren’t taken by me, I’d highly recommend investing a bit more in better prints for your favourites. Check out Printspace and Whitewall for better prints – I’m never impressed with anywhere I’ve found on the high street to be honest.
I hope this has given you some ideas on how to streamline your photo files and create a photo backup. What’s your first piece of homework?!