tori deslauriers photography blog
See all the latest magic from family shoots, branding shoots, weddings and get some top tips.
Why your family photos are still sitting on a hard
You did the shoot. You felt the magic. And then life got in the way and those photos are still…
What to Post on Instagram When You Have No Idea
Staring at a blank screen again? Same. Posting on Instagram feels exposing, awkward, and a little bit terrifying - especially…
FAQ: what should I wear for my family photoshoot
A few opinions about what you might consider wearing to your family photo session...
Ditch the Excuses – It’s Time to Show Up as
We've all been there. Is it time you stopped making excuses and just get your branding photos sorted?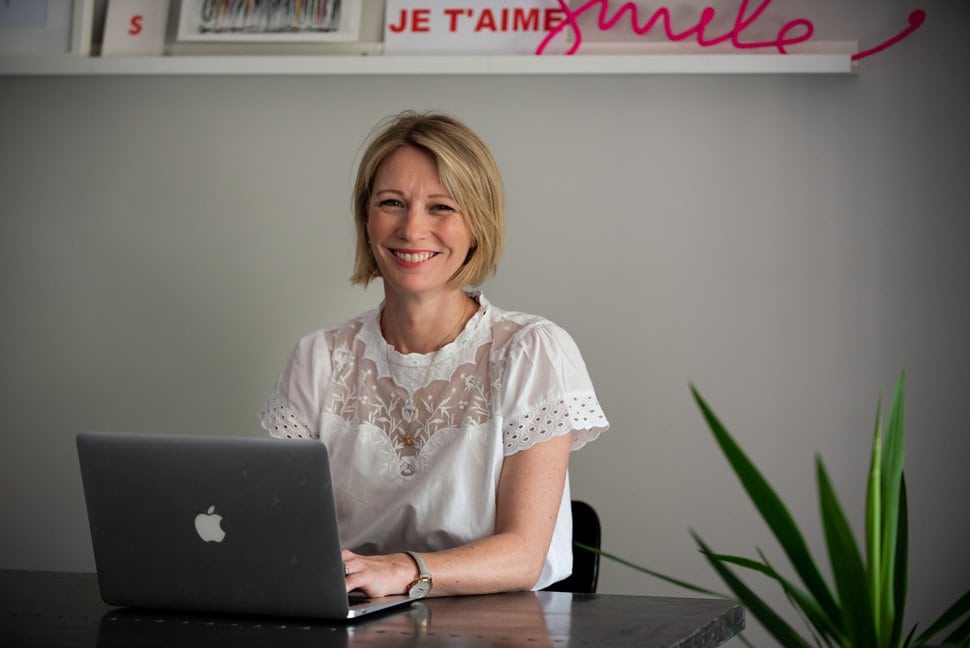
Candid Family Photos at Home: Why Your Living Room is
Discover why your living room could be the perfect backdrop for capturing real, relaxed family moments.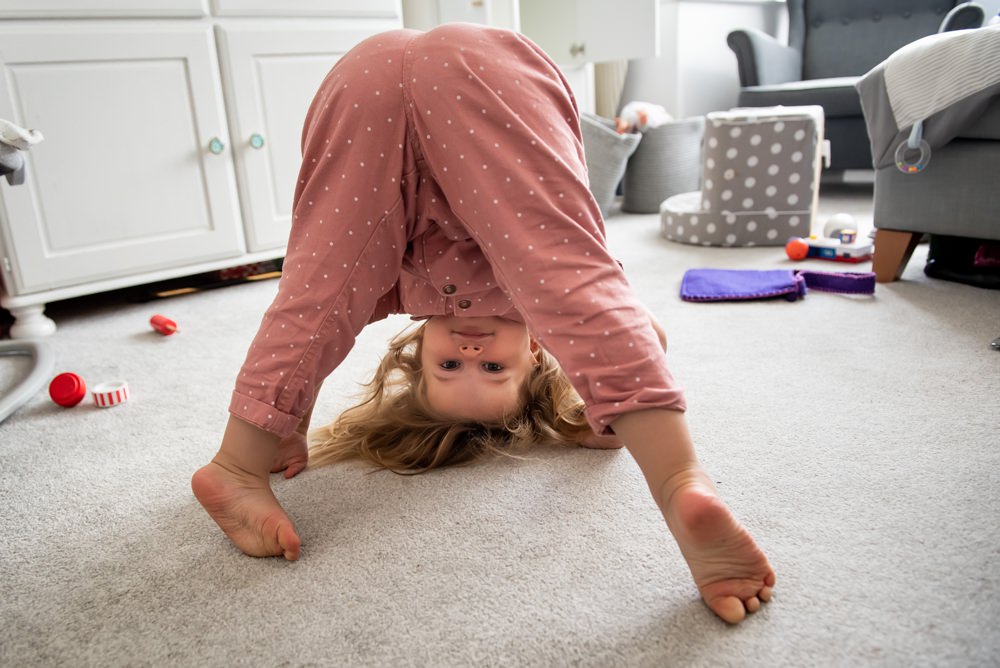
Why a Branding Photography Membership Might Be Exactly What Your
Tired of scrambling for fresh brand photos every time you launch something new? The Visibility Circle photo membership gives you…
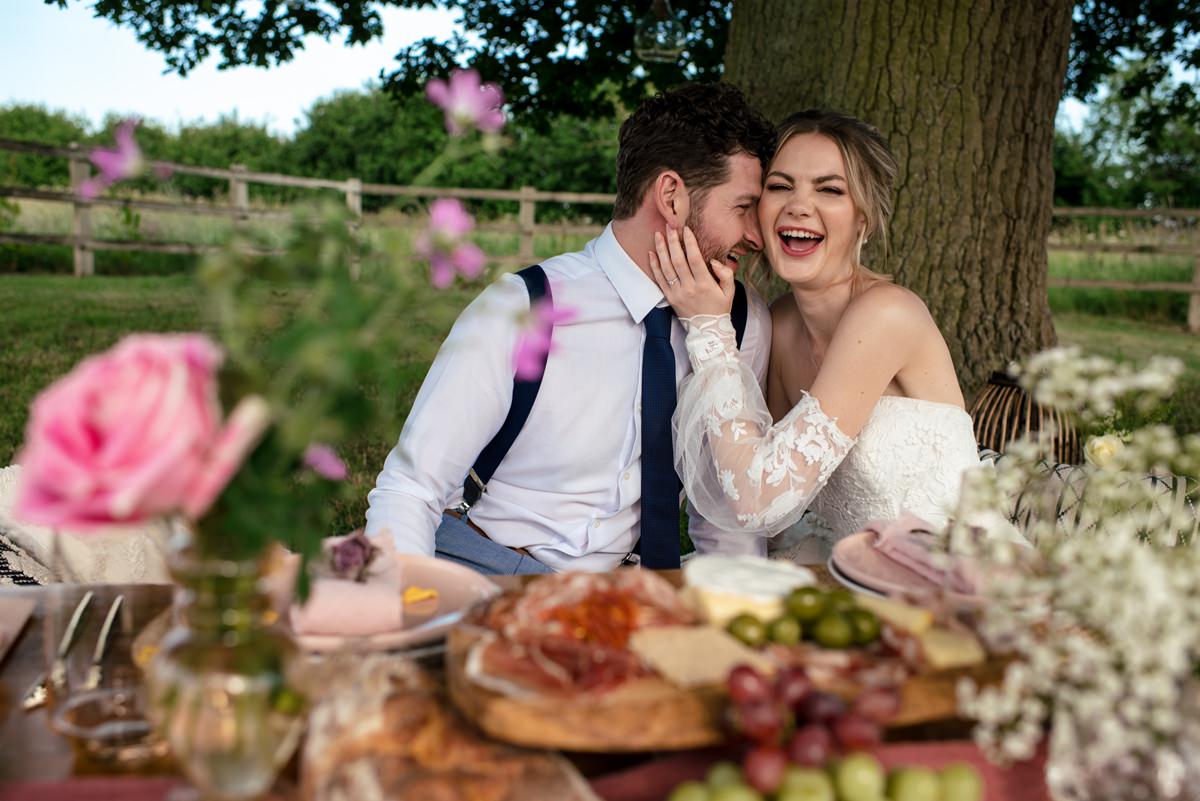
A Catholic ceremony and sunny summer Brocket Hall reception
A Catholic church ceremony followed by a sunny reception at Brocket Hall in Hertfordshire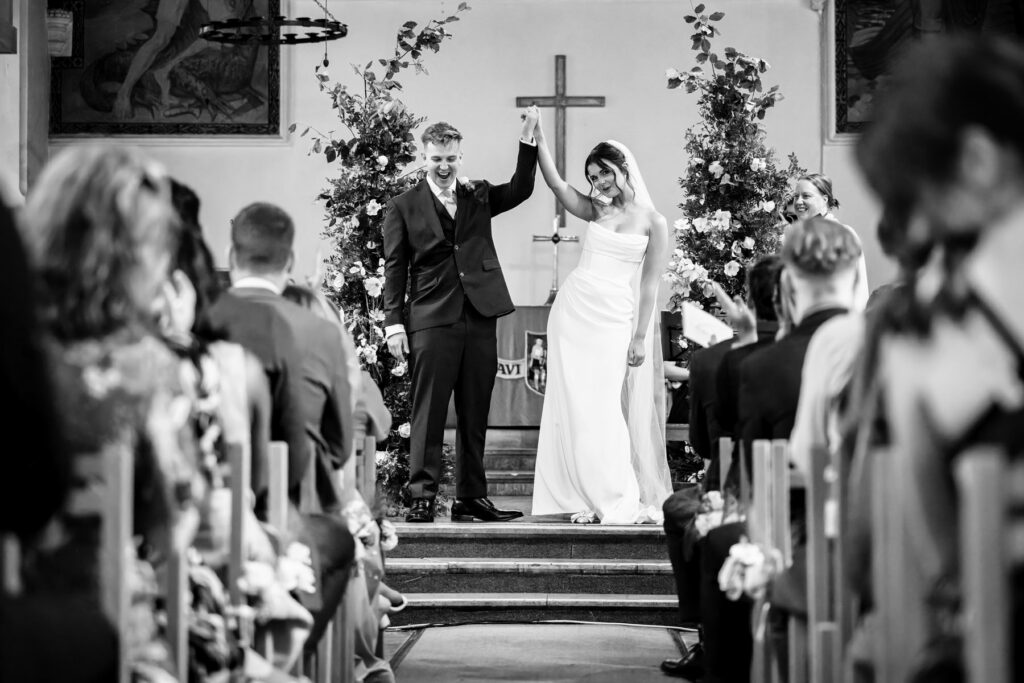
Social-Media-Ready in 24 Hours: How Same-Week Event Galleries Help You
Want your event photos back before the confetti hits the floor? I’m a Hertfordshire event photographer offering same-week galleries so…
How Much Does A Family Photo Session Really Cost? (And
Wondering what family photography actually costs in St Albans? Here’s a genuine look behind the scenes of pricing, the experience,…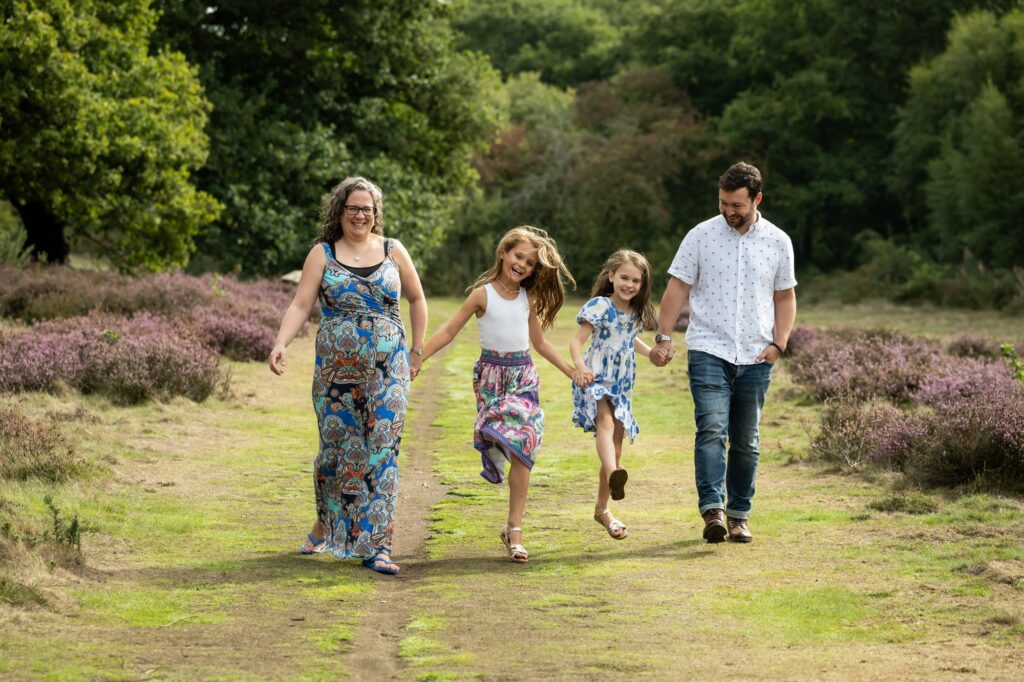
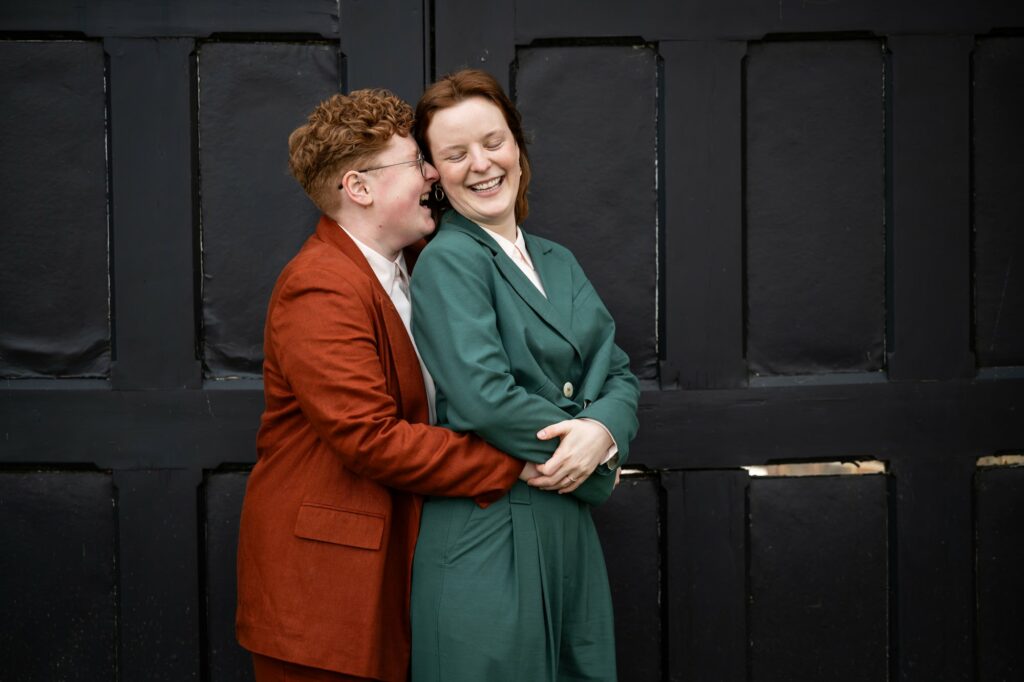
A joyous St Albans Registry Office civil partnership
A gorgeous yet intimate civil partnership ceremony at the St Albans Register Office with just the couple's children in attendance.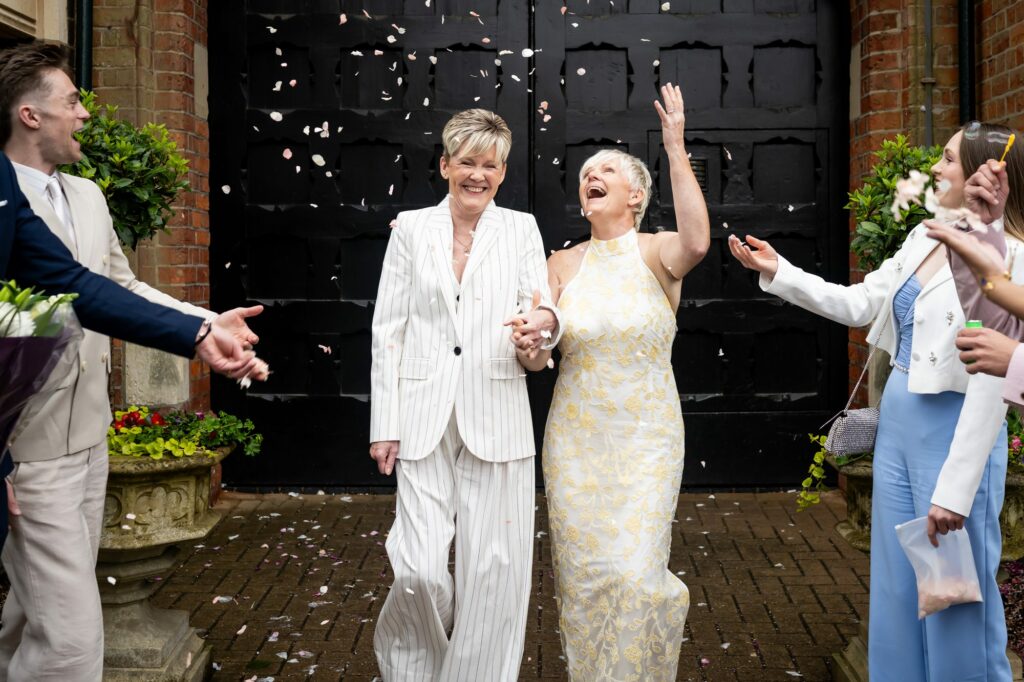
Dancing out of a St Albans Register Office wedding!
A micro wedding at the St Albans Register Office with dancing from all assembled guests, both pre- and post-ceremony!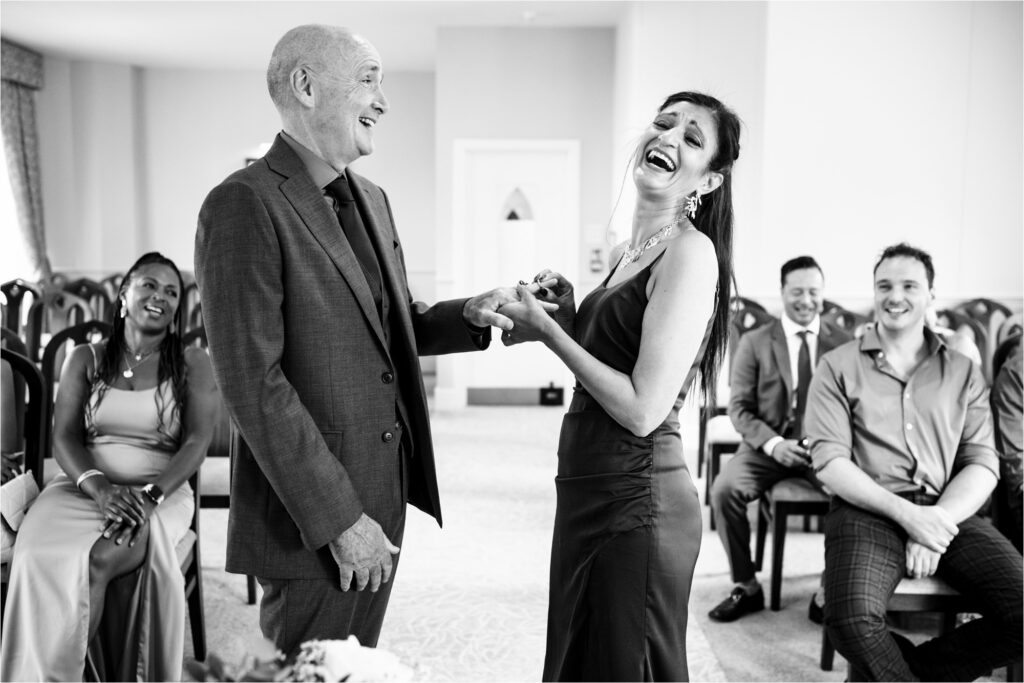
An Emotion-filled Intimate St Albans Registry Office Wedding
A beautiful wedding at St Albans Register Office wedding for Anna & Libby full of laughter, raw emotion, music and…